This first tutorial won’t dive into the finer points of Minecraft server installation, but it should give you an idea of what a barebones Minecraft server looks like. This guide aims to provide you with a solid foundation that you can build upon, whether by following future sections of this guide or exploring on your own.
The Hardware
It’s both the least important and the most important part of a Minecraft server.
On one hand, almost any hardware can handle a small Minecraft server (1 to 5 people). On the other hand, if it’s faulty, congratulations—you’ve just signed up for a time-consuming, skill-testing nightmare. A bad power supply? Spotty Wi-Fi or Ethernet? RAM bottlenecks or random crashes? Any of these will turn a simple setup into a troubleshooting marathon. At that point, you’ll need to know a whole lot more than just how to run a Minecraft server. That’s all to say, make sure you have a stable foundation.
Tentative Lower Requirements
| Component | Requirement |
|---|---|
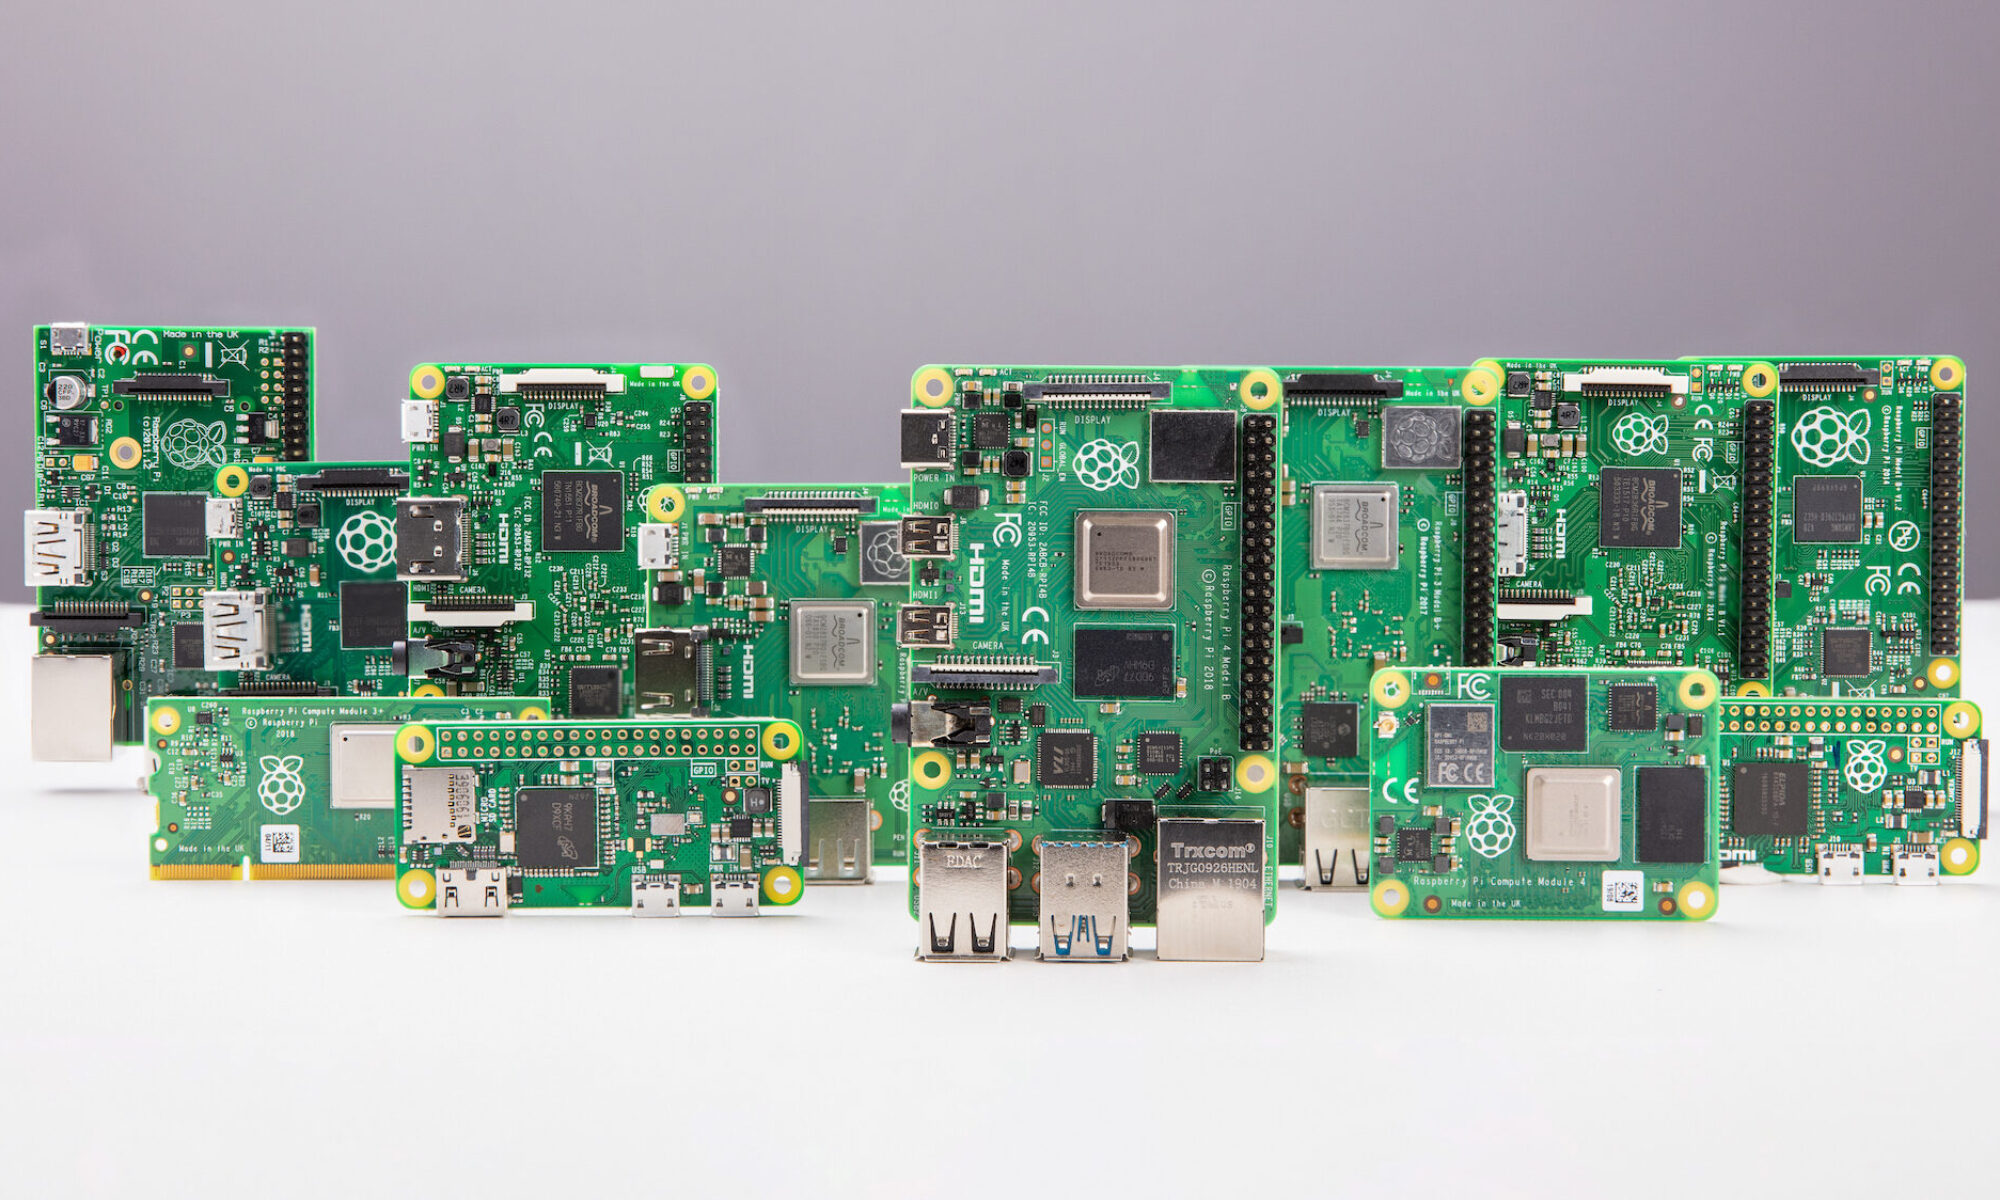
| CPU | Anything equal to or better than a raspberry pi 4 or your old PC from 10 years ago. |
| GPU | Needed |
| RAM | 3GB or more |
Anything lower and—your experience will suffer.
The Operating System (OS)
Much like hardware, the operating system can make or break a Minecraft server.
An OS that’s too involved—like Windows—or the more overly hand-holdy Linux distros with desktop environments, the ones meant for direct human interaction, aren’t exactly server material.
An OS that’s too barebones won’t necessarily have the tool(s) you need to install/run the server, and worse, it may not even have a repository that provides it. This, of course, brings us back to the skill and time issue we had with hardware.
Now, if you want to avoid that headache, I’d recommend going with an OS with high stability and software availability, like Ubuntu Server.
To install Ubuntu follow the ubuntu installation guide
Once that’s done, we can begin in earnest.
The Server
Installing java
As of time of writing, the current Minecraft server used Java 21
To install Java 21 on ubuntu run:|
sudo apt install openjdk-21-jre-headlessInstalling the server
Start by creating a folder to hold your server:
mkdir minecraft-serverAnd for god’s sake, click the TAB key after the first few characters of “minecraft-server” or just copy it.
The above statement applies in perpetuity. #Tab-is-your-friend.
Change directories into the folder you just created
cd minecraft-serverDownload the server
wget -o server.jar https://piston-data.mojang.com/v1/objects/4707d00eb834b446575d89a61a11b5d548d8c001/server.jarThis will download the current Minecraft server (at time of writing 1.21.4)
# Install needed utilities (they may already be installed)
sudo apt install wget jq

# Download the server
wget $(curl -s $(curl -s https://launchermeta.mojang.com/mc/game/version_manifest.json | jq -r '[.versions[] | select(.type == "release")] | .[0].url') | jq -r .downloads.server.url) -O server.jar
This will download the latest Minecraft server (at time of execution)
Setup the server
java -Xms1G -Xmx3G -jar server.jar-Xms1G Allows the server 1G minimum amount of RAM.
-Xmx3G Allows the server 3G max amount of RAM.
-jar Tells java that the following file is a jar.
Approving the EULA
Before the Minecraft server can run, you need to accept the End User License Agreement (EULA).
After the initial run, a new file named eula.txt will appear in your server folder. Open it with:
nano eula.txtFind the line that says:
eula=falseThat “false” is what’s stopping the server from running. Change it to “true”:
eula=trueSave and exit (CTRL+X, then Y, then ENTER). Now, you’re ready to actually start this thing up.
Running the Server
Alright, time to bring this server to life.
Running the Server Manually
You’ll need to start the server with a command that looks something like this:
java -Xms1G -Xmx3G -jar server.jar noguiLet’s break it down:
java– This tells your system, “Hey, we’re running a Java application.”-Xms1G– This sets the minimum RAM the server is allowed to use. Here, it’s 1GB. If your server needs more, it can use it, but it won’t go below this.-Xmx3G– This sets the max RAM limit to 3GB. The server won’t be allowed to use more than this, even if it wants to.-jar– Just Java’s way of saying, “We’re about to run a JAR file.”server.jar– The actual Minecraft server software.nogui– Disables the graphical interface (which you don’t need unless you like wasting resources).
After a few moments, if all goes well, you’ll see a message saying something like “Done!” That means the server is running.
Keeping the Server Running
If you close the terminal, the server goes down with it. That’s not ideal. If you want to run the server in the background but still have access to control it, usescreen.
Using screen
A simple way to do this is with screen, which lets you create a session that stays alive even when you disconnect.
First, install it (if you haven’t already):
sudo apt install screenNow, start a new session:
screen -S minecraftThen, fire up the server:
java -Xms1G -Xmx3G -jar server.jar noguiWant to leave the session but keep the server running? Hit CTRL+A, then D.
Later, to get back to it:
screen -r minecraftBasic Server Administration
Alright, so the server is running. Now what? Time to manage it properly.
The following will assume you are in the servers working directory.
Stopping the Server
To shut it down safely (without corruption), type this in the server console:
stopThis will save everything and shut down cleanly.
Becoming the Admin (OP)
You’re running the server, so you probably want admin powers. Type this in the server console:
op <playername>Congrats, you’re now an OP (operator). That means you can use commands like these in-game:
/gamemode <mode>– Changes your game mode.- Modes:
survival,creative,adventure,spectator. /tp <player1> <player2>– Teleports Player1 to Player2.- Example:
/tp Steve Alexmoves Steve to wherever Alex is. /ban <playername>– Bans a player.- Example:
/ban Griefer123permanently bansGriefer123. - Reversible with
/pardon Griefer123 /whitelist add <playername>– Adds someone to the whitelist (if enabled).- Example:
/whitelist add Friend123lets Friend123 join. - Reversible with
/whitelist remove <playername>
- Example:
/say <message>– Sends a message to all players.- Example:
/say Server restarting in 5 minutes!sends “Server restarting in 5 minutes!” to the whole server.
Server Settings
The server.properties file controls all the little details. To open it up:
nano server.propertiesSome useful settings to change:
gamemode=survival– Sets the default mode when players join. Options:survival,creative,adventure,spectator.difficulty=easy– Determines how tough the game is. Options:peaceful,easy,normal,hard.max-players=20– Sets the player limit.motd=My Minecraft Server– This is what people see as the server name in their multiplayer list.
After changing stuff you can save by entering (CTRL+X, then Y, then ENTER). Restart the server to apply changes.
Checking Server Logs
Want to see what’s happening? Open the logs:
tail -f logs/latest.logThis shows new log entries as they happen. Press CTRL+C to exit.